
Here we are having another client request — to add email functionality in their Laravel app — hosted on their localhost server. They want a contact form that’ll be capable of sending email with CC (carbon copy) and BCC (blind carbon copy). They also requested an add file attachment feature in case they need to attach file/s to their email. They don’t have any mail server setup on their local machine.
One of the library we can think of (that can do the job) is PHPMAiler. Well, why not right? PHPMailer is 20 years in business, supporting projects, making their library publicly available for anyone. Additionally, integration between Laravel and PHPMailer isn’t new at all.
If you haven’t tried PHPMailer yet (maybe you’re using Laravel’s Swiftmailer, Zend/Mail, ZetaComponents etc.), here’s a quick background. In a nutshell, PHPMailer is a PHP library for sending email, simply as that, nothing complicated. Client requests we’ve stated above such as sending email with CC, BCC, and add file attachments supports by this library. Most importantly, it’ll allow us to send email from a localhost server (even in Windows platform), through the use of Gmail SMTP of course. We can’t list all features of this library here but you can read more about PHPMailer from this page.
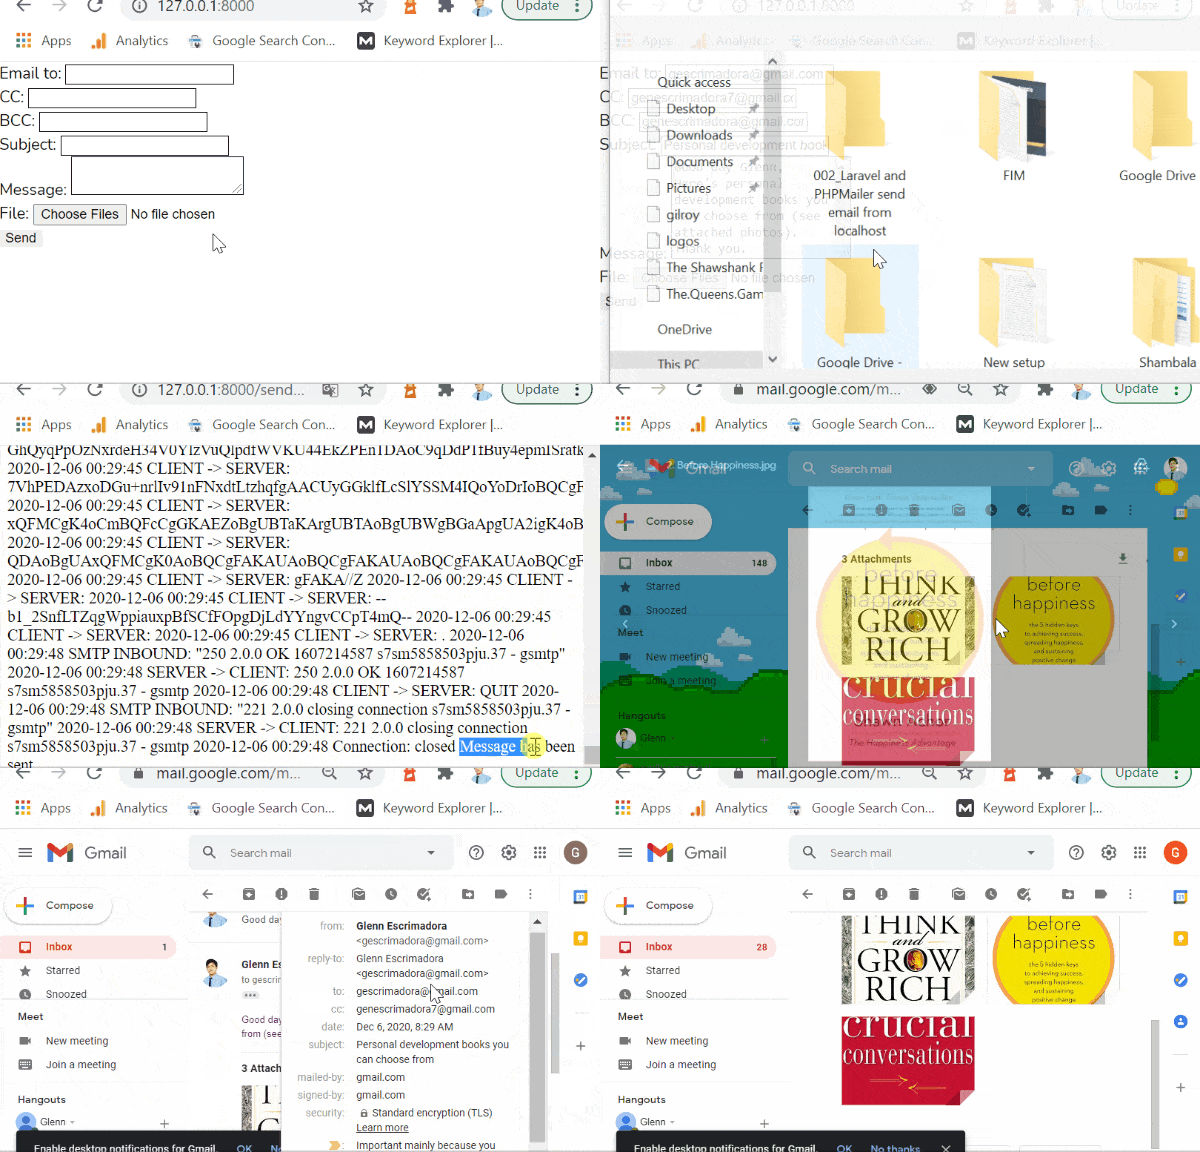
Before we begin, let’s take a look on what will be our output at the end of this tutorial.
Requirements
- Composer – we’ll use this dependency management in PHP to easily install Laravel and PHPMailer
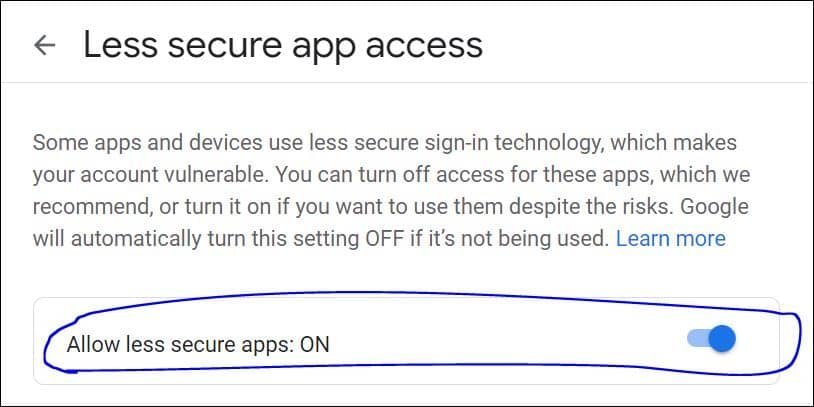
- Your Gmail account, plus your email and password (Important: Your Gmail account’s less secure app access must be turned on)
To turn on less secure app access of your Gmail account:
- Go to Gmail and sign in.
- Go to Manage your Google Account.
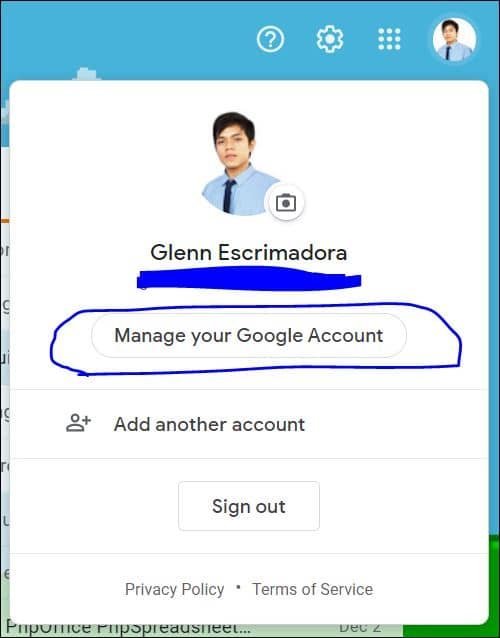
- Go to security tab and scroll down until you see Less secure app access panel.
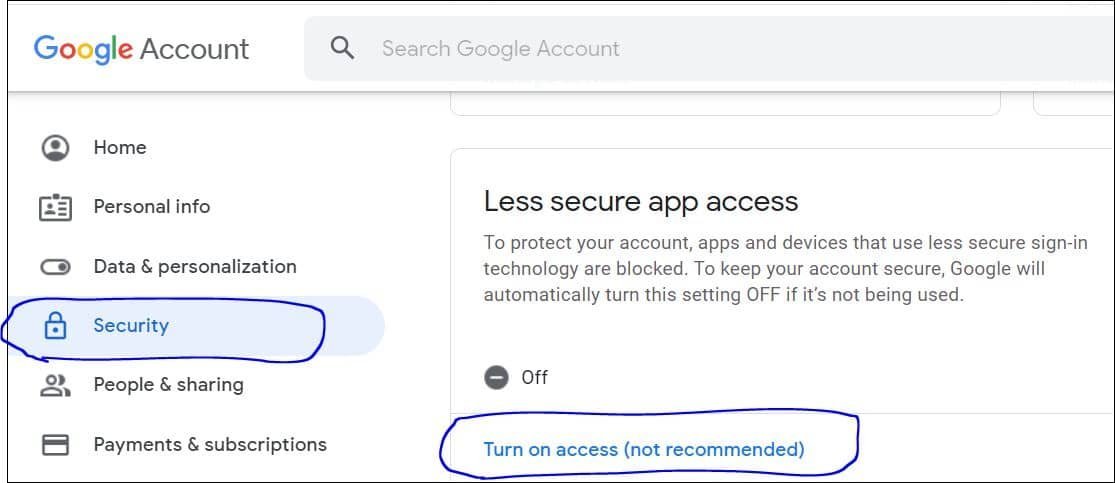
- Click Turn on access (not recommended). Gmail will verify your password.
- Now toggle on Allow less secure apps.
Steps to Integrate Laravel and PHPMailer
Step 1: Install Laravel Using Composer
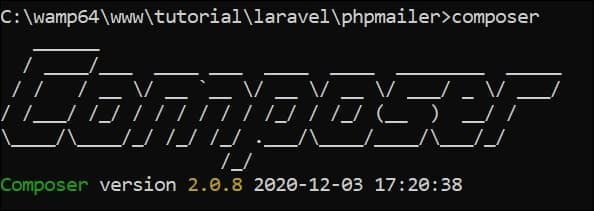
a. Let’s make sure composer works on your end. Open a command line interface. Type the command composer -v; composer version, options and available commands should be displayed.
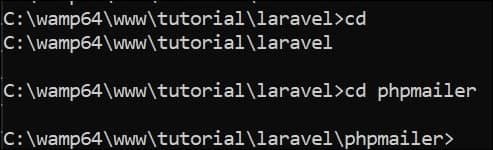
Type cd command to display your current working directory. Make sure you’re inside the folder where you want to install your project. If not then navigate to your preferred location using cd command, cd phpmailer.
b. Now create your Laravel project using composer create-project --prefer-dist laravel/laravel command.
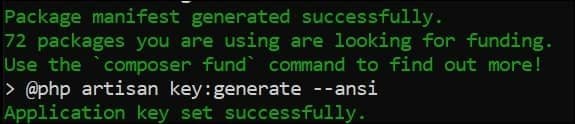
The composer will download Laravel files.

It should end with the message “Application key set successfully”.
Step 2: Install PHPMailer Using Composer
Here we knits Laravel and PHPMailer.
a. Again, type cd command to display your current working directory. You must be inside of your project folder.
Install PHPMailer using composer require phpmailer/phpmailer command.

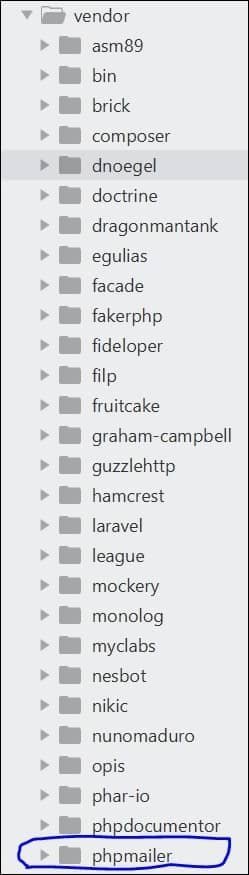
b. Check whether the PHPMailer exist by navigating to vendor folder. A folder named “phpmailer” must be listed together with other vendor files.
c. Start your Laravel project by executing php artisan serve command.

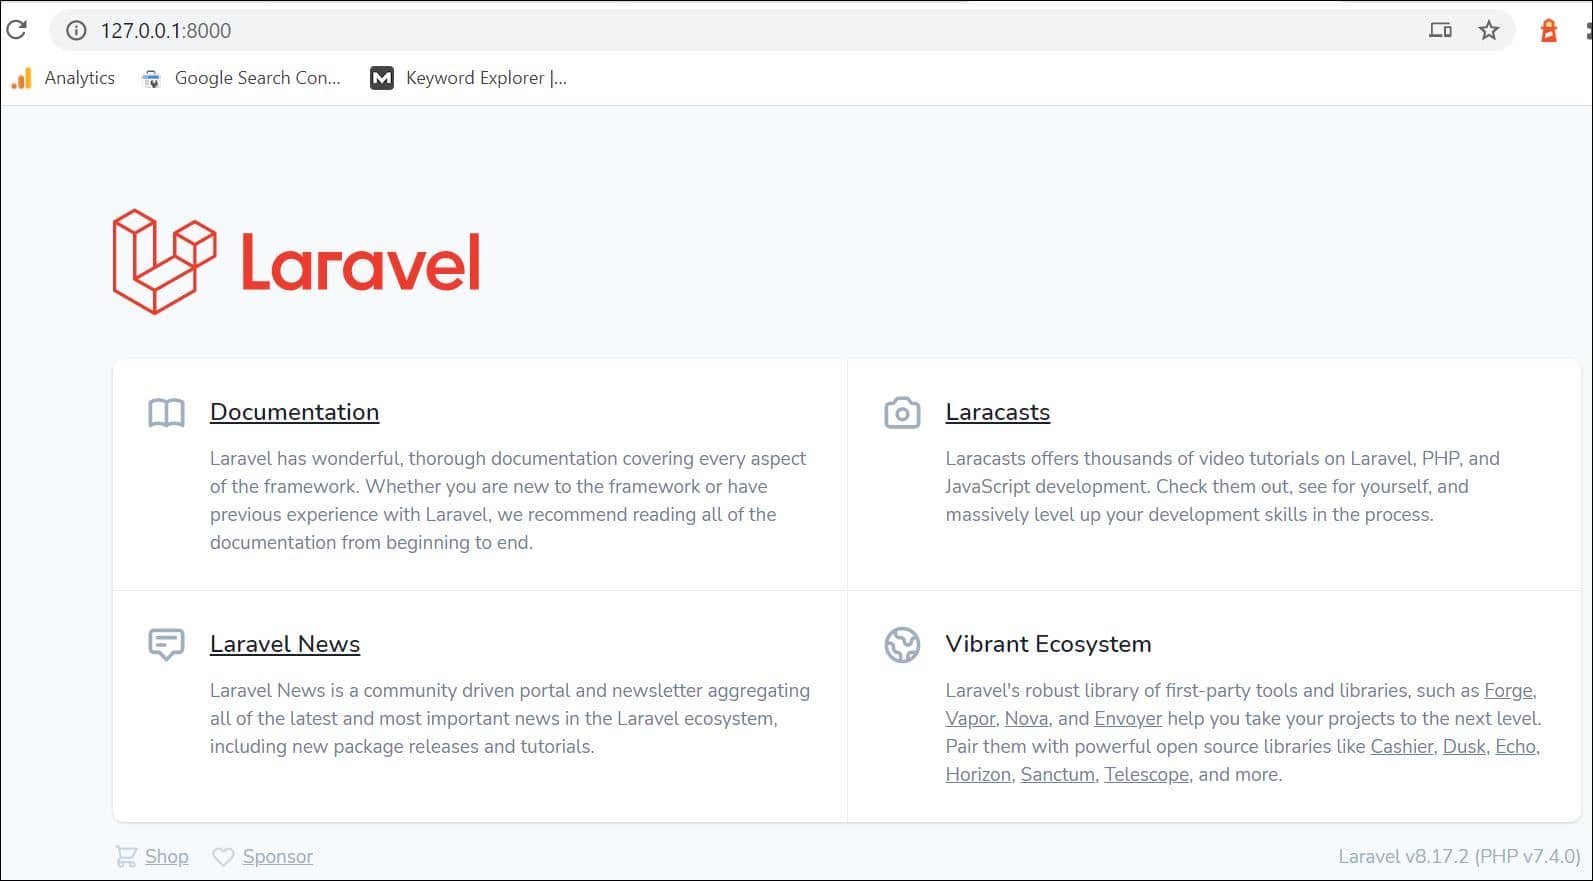
Now open the browser of your choice and go to http://127.0.0.1:8000/. You should see Laravel’s welcome page.
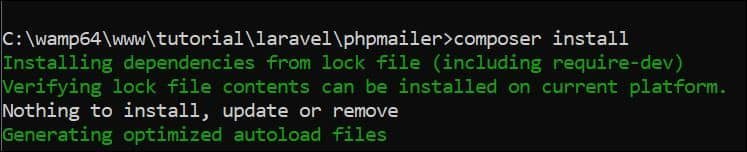
d. Run composer install command. It’ll download and install all the libraries and dependencies required.
Step 3: Laravel and PHPMailer Source Code for Sending Email
a. First we have to create our controller, it’ll contain our function for sending email.
Run php artisan make:Controller PhpmailerController command.

Open PhpmailerController.php located at /your-project-folder/app/Http/Controllers and paste the following code.
<?php namespace App\Http\Controllers; use Request; // Import PHPMailer classes into the global namespace // These must be at the top of your script, not inside a function use PHPMailer\PHPMailer\PHPMailer; use PHPMailer\PHPMailer\Exception; class PhpmailerController extends Controller { public function sendEmail (Request $request) { // is method a POST ? if( Request::isMethod('post') ) { require '../vendor/autoload.php'; // load Composer's autoloader $mail = new PHPMailer(true); // Passing `true` enables exceptions try { // Mail server settings $mail->SMTPDebug = 4; // Enable verbose debug output
 $mail->isSMTP(); // Set mailer to use SMTP
$mail->Host = 'smtp.gmail.com'; // Specify main and backup SMTP servers
$mail->SMTPAuth = true; // Enable SMTP authentication
$mail->Username = 'your-email@gmail.com'; // SMTP username
$mail->Password = 'your-gmail-password'; // SMTP password
$mail->SMTPSecure = 'tls'; // Enable TLS encryption, `ssl` also accepted
$mail->Port = 587; // TCP port to connect to

$mail->setFrom('your-email@gmail.com', 'Your Name');
$mail->addAddress($_POST['email']); // Add a recipient, Name is optional
$mail->addCC($_POST['email-cc']);
$mail->addBCC($_POST['email-bcc']);
$mail->addReplyTo('your-email@gmail.com', 'Your Name');
// print_r($_FILES['file']); exit;

for ($i=0; $i < count($_FILES['file']['tmp_name']) ; $i++) { $mail->addAttachment($_FILES['file']['tmp_name'][$i], $_FILES['file']['name'][$i]); // Optional name
}

$mail->isHTML(true); // Set email format to HTML

$mail->Subject = $_POST['subject'];
$mail->Body = $_POST['message'];
// $mail->AltBody = plain text version of your message;

if( !$mail->send() ) {
echo 'Message could not be sent.';
echo 'Mailer Error: ' . $mail->ErrorInfo;
} else {
echo 'Message has been sent';
}

} catch (Exception $e) {
// return back()->with('error','Message could not be sent.');
}
}
}
}
Replace the following line with your Gmail account’s username and password.
$mail->Username = 'your-email@gmail.com';
$mail->Password = 'your-gmail-password';
Tips: Your PASSWORD shouldn’t be hardcoded in a controller file. Maybe place those kind of data in .env or much better to store it (but hash it first) in your database.
b. We now have the logic of sending email. Now let’s create our contact form.
Open /resources/views/welcome.blade.php and place the following code below.
<form role="form" action="/%7B%7B%20route('sendmail')%20%7D%7D" enctype="multipart/form-data" method="post">@csrf
<div class="row">
<div class="col-sm-9 form-group"><label for="email">Email to: </label>
<input class="form-control" style="border: 1px solid black;" name="email" type="email" /></div>
</div>
<div class="row">
<div class="col-sm-9 form-group"><label for="email">CC: </label>
<input class="form-control" style="border: 1px solid black;" name="email-cc" type="email" /></div>
</div>
<div class="row">
<div class="col-sm-9 form-group"><label for="email">BCC: </label>
<input class="form-control" style="border: 1px solid black;" name="email-bcc" type="email" /></div>
</div>
<div class="row">
<div class="col-sm-9 form-group"><label for="subject">Subject: </label>
<input class="form-control" style="border: 1px solid black;" name="subject" type="text" /></div>
</div>
<div class="row">
<div class="col-sm-9 form-group"><label for="name">Message: </label>
<textarea class="form-control" style="border: 1px solid black;" name="message"></textarea></div>
</div>
<div class="row">
<div class="col-sm-9 form-group"><label for="name">File:</label>
<input class="form-control" multiple="multiple" name="file[]" type="file" /></div>
</div>
<div class="row">
<div class="col-sm-9 form-group"><button class="btn btn-primary" name="sendmail" type="submit">Send</button></div>
</div>
</form>
c. Now we can setup our routing. Open /routes/web.php and paste the following code at the end.
Route::post('/sendmail',[
'as' => 'sendmail',
'uses' => 'App\Http\Controllers\PhpmailerController@sendEmail'
]);
Save and close the file.
Now go to your browser and navigate to http://127.0.0.1:8000/ and test it out. Does it work? Let me know in the comments below.
We hope this tutorial on Laravel and PHPMailer helped you add email feature to your Laravel app sitting on a localhost environment.
To improve user interface of your form and/or page, you can integrate AdminLTE in your Laravel app. Here we’ll help you create a responsive web app template without starting from scratch.
Error when i am using your code please solve “Laravel And PHPMailer Send Email From Localhost”
InvalidArgumentException
Action App\Http\Controllers\PhpmailerController@sendEmail not defined. (View: C:\xampp\htdocs\milk-laravel\resources\views\contact.blade.php)
Hi Gopi chand, the error has something to do with Laravel routing? Can you verify if the route to your Controller function’s correct?
Yus…got it, this same error…, How to slove this? require(vendor/autoload.php):failed to open stream:No such file or directory
Hi IRSHAD,
Can you verify if PHPMailer exist by navigating to vendor folder?
If not, then run “composer install” command (it’ll create vendor folder and import all required packages).
Error shows Target class [PhpmailerController] does not exist.
Error shows Target class PhpmailerController does not exist.
Hi Ragunath, can you verify if PHPMailer exist by navigating to vendor folder?
Symfony\Component\ErrorHandler\Error\FatalError
App\Http\Controllers\EmailController::sendEmail(): Failed opening required ‘vendor/autoload.php’ (include_path=’C:\xampp\php\PEAR’)
how to fix this error?
Hi Gracielo,
It can be permission issue, try to remove “vendor” folder and download new one.
Run the following commands.
1. composer update –no-scripts
2. composer update
Its working thanks
i think problem here is in namespace
namespace AppHttpControllers; VS Code shows invalid syntax , when i try use namespace.
Its just my mind